How To Change A Tire? 14 Pro Steps With Required Tools

If you have a car, you might be stuck with a flat tire but if it didn’t happen to you then you might have seen numerous cars that got a flat tire.
Now, suppose you face this situation and you don’t know how to change a tire, you might feel helpless. Therefore, as a driver or car owner, you must know how to change a tire.
In this article, you will find all the necessary details on “how to change a tire” and after reading this article you may be able to change a tire with very simple steps and without seeking help from anyone.
Before starting our topic on how to change a tire, let’s examine some important equipment or essential things that you will need to fix and replace the flat tires.
Items Needed for Fixing the Flat Tire

These are the following equipment and materials, you will need to fix the flat tire:
- Spare wheel/ Fully inflated spare tire
- Jack and lug wrench
- Vehicle owner’s manual
- Reflective jacket /Rain poncho
- Wheel nut key
- Wheel wedges
- Tyre pressure gauge
- Flashlight with working batteries
- Warning triangle: to alert other drivers to a hazard/obstruction
- A small cut of 2″x6” wood/ Short plank of wood to secure the jack
Also Read:
- How to Hotwire a Car? | 3 Best-Known Cheat to Hotwire a Car
- Why Won’t My Car Start- 11 Basic Reason Along With Solutions
How to Change a Tire? Step by Step Guide
Now, let’s begin step by step guide on how to change a tire.
Step 1: Find a Safe Place

In the first step of how to change a tire, you should find a safe place to replace your tires, such as a flat level surface or solid ground surface that is away from the roadside traffic.
Let’s suppose you are driving a high way, in most cases, you will not find a safe place where you can change your flat tire. In that case, the first thing you can do is to park your car on the left rare end of the road (if you are in India).
However, if you’re reading this post from another country then you just have to find the last low traffic lane of the road. But if you’re car stuck in between the lanes of high traffic then try to take the help of other people to park your car on the most left side of the roadside.
You can also use the soft ground to park your car. Though soft grounds might be soiled but it is the safest place from where you can change your car tires.
Step 2: Turn on hazard lights
Now, you find the safest place to park your car. But still to make yourself safer and for the shake of additional safety, you can turn on your emergency lights own.
Nowadays, if you buy a car, they also give you a kit for tire replacement. In that replacement tire kit, there is an additional triangulated signboard that you can use to put on your car to flash the emergency sign. This is very helpful for your safety in case you are traveling in fog and snow areas.
In India, people also use bushes to show that their vehicles need maintenance. So, if your car’s battery goes off or you didn’t have a maintenance signboard, you can use green bushes to show your car needs maintenance.
Step 3: Apply Parking Brake
After parking and turning on your car’s emergency light, the next step in how to change a tire is to apply the handbrake or parking brake.
This will reduce any possibility of car rolling. So, put the car in the “park” position or in a manual transmission. Once the car got frizzed-braked tires, you might need additional safety from preventing the car from rolling.
Step 4: Place a Heavy Object Underneath the Tire

To ensure the firmness of your car form rolling, placing a heavy object under the edge of the car tire would do its job. You can use bricks, large stone, metal wheels, wooden wages, etc in the front and rear tires.
Moreover, if you are changing a rear tire, place the blockers in front of the front tires. For example, let’s say, your left-rear tire is flat, so, you need a chock in front of the left-front wheel.
Similarly, if you are replacing front flat tires, put the wheel wedges behind the rear tires.
Step 5: Take out the Spare Tire and the Jack
Now, your car is more firmed and you didn’t have to do anything except stating the real work of changing the tire. Therefore, it’s time to take the spare tire, jack, and all necessary equipment out from your car’s replacement kit.
In addition, you have to make sure everything you need is in the trunk or cargo area. However, in many vehicles such as trucks, minivans, and some SUVs, the spare tire may be stored under or lowered down the vehicle.
In short, it’s your car, and you know more than us. So, take out the spare tire and the jack from your car. And if you have gloves, then it’s time to put them on, as form now it, you have to meet up with the grease and dirt.
Step 6: Pry off the Wheel Cover
Wheel covers are the decorated piece for the tires, but in the process of how to change a tire, you need to remove this extra layer that hinders you to reach the wheels nuts and bolts area.
For this, all you have to do is insert the screwdriver and apply a little levitation at one of the two places where the edges of the casing meet the wheel.
After that a slight push, the lid should be removed. But if you find it hard to remove, then have a look at the owner’s car manual for proper and detailed information on removing it.
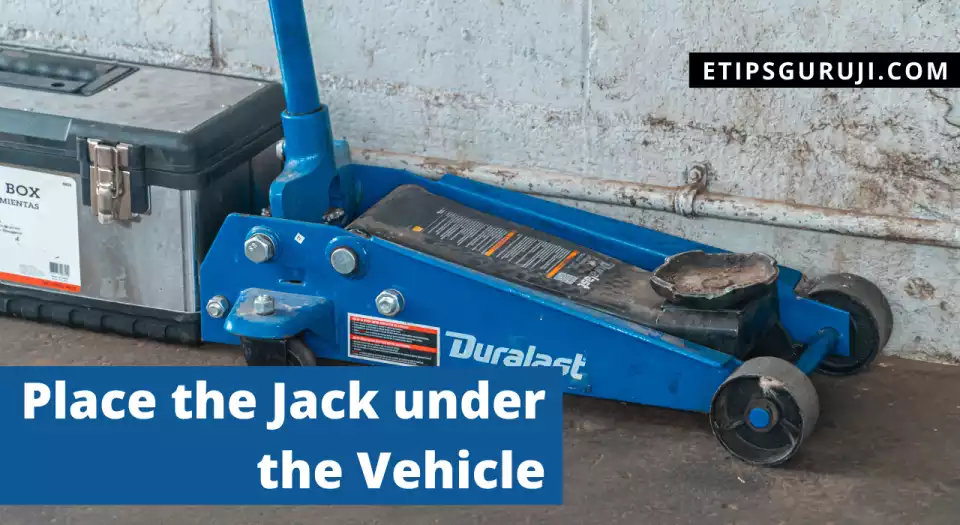
Step 7: Place the Jack under the Vehicle

In this step, you are going to lift up your car slightly up, so the flat tire gets free up from the load and can be easily replaced.
For this, all you have to do is to follow the instructions in your vehicle owner’s manual for placing the jack beneath the car frame close to the punctured wheel.
Finding the solid frame beneath the car frame is a bit hard, and if you are doing it for the first time it might seem more harder to you. This is because, if you, by mistake, put the jack on the molded plastic part of your car and lift it, then it not only makes your outer car frame with ballooned dent but also makes you to lean up extra cash on your car frame maintenance.
Additionally, you have to make sure the jack is perpendicular to the ground. Moreover, if you are changing the flat tire on the soft lands, then try to support the jack with a solid base so that it didn’t get ground deep in it.
Step 8: Loosen the Lug Nuts
Now at this time, you have to use the wrench to loosen the lug nuts. Just turn the wheel wrench anti-clockwise and start loosening the nut until you break the resistance.
You should avoid removing the nuts completely, just loosen it about ¼ to ½ of a turn. So, you can remove them by hand, after you raise the vehicle with the jack.
Step 9: Raise the Vehicle with the Jack
In this step, all you only have to lift the edge of the car slowly until the flat tire is six inches (10-15cm) away from the ground. Now remove the unscrew lug nuts completely with your hands. By removing the nuts form hands and placing them safely, will ensure that you didn’t misplace them.
But here, to prevent the jack from losing its balancing, place a small plank of (2×6”) wood under the jack if you are on the soft lands.
Step 10: Remove the Tire
Now remove the flat tire with your both hands. You just have to pull it straight towards yourself. And ensure that you didn’t get face-off with the backward force of pulling and hurt yourself.
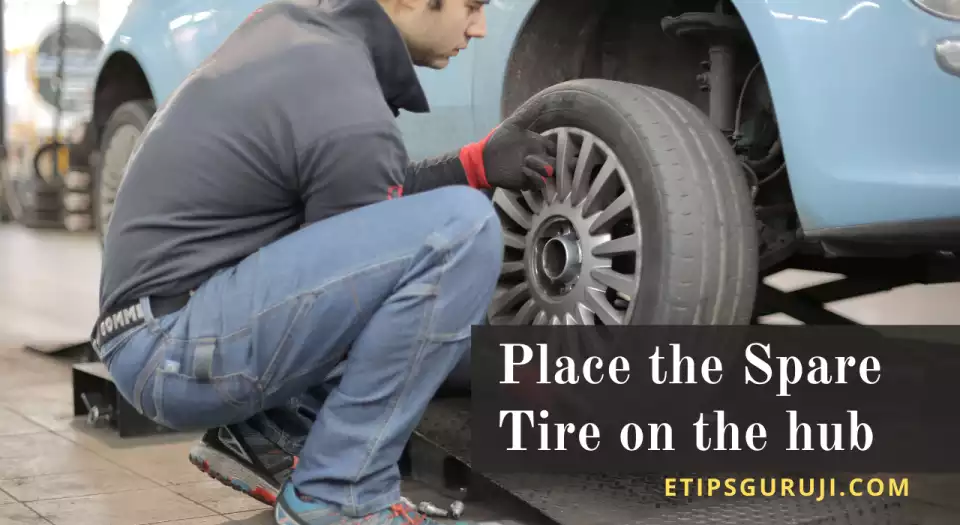
Step 11: Place the Spare Tire on the Hub

After removing the flat tire, place the spare in the alignment of the nut area. While installing the spare tire, you should do it carefully. Don’t try to agitate the vehicle too much, as it might make your car to get off from the jack and hurts your car frame. Moreover, it might also cause serve injury to you.
The spare tire should be installed perfectly in the opening of the lugs nuts in a way so that the valve stem of a doughnut tire should face outwards, away from the vehicle.
Step 12: Place and Tighten Nuts with Hands
When you aligned the spare tire into the axle of the car, it’s time to put the lug nuts back on the lug bolts and tighten them with light hands. Don’t use wrenches to tight at this position.
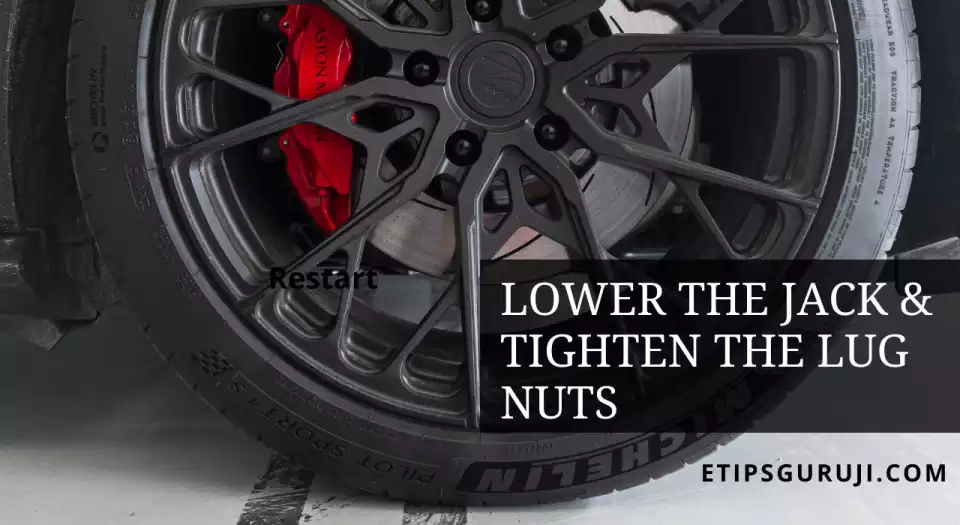
Step 13: Lower the Jack & Tighten the Lug Nuts

Now with the jack, slowly lower the vehicle to the ground till the jack unloaded all carloads. After that, you have to use the wrench to tighten the lug nuts. In this time, for tightening it, you have to move the lug nuts into the clockwise direction.
Lately, lower the jack and remove it completely from the car. And lastly, again tighten the lug nuts with a wrench to make sure the nuts get fully screwed up.
Step 14: Put the old tire in your trunk and take it to the mechanic
Here we finally come at the last step on how to change a tire. In this last step, you just have to put the flat tire, a lug wrench, jack, and all necessary tools into the car. And don’t forget to put the hubcap of the wheel.
But before going to drive, you should check the pressure in the spare tire. And for checking it, you can use a pressure air gauge. After all, seems fine, you now take the punctured tire to the mechanic for either for the repair or for replacement.
People Also Read:
- Thrust Bearing – 6 Design Types, Working, and Applications
- Top 15 Industrial Revolution Inventions that Changed the World
So, our article on “How to change a tire” ends here. Let’s check some of the most frequently asked questions that many users search on Google.
General FAQ
1. How long does it take to change a tire?
Ans. It completely depends on the person who is changing the tire. So, for an experienced person, it hardly takes 10 to 15 minutes but if you are doing it for the first time, then it might take you about 30 minutes to change the flat tires.
2. How to avoid having a flat tire?
Ans. To reduce this risk, you should do some prevention such as checking your tire pressure regularly, looking for uneven wear, tears, and punctures. And most importantly, always be prepared with an emergency kit. Moreover, you can also switch to the tubeless tires that provide more security to get punctured.
3. What are all the materials I need to change a tire?
Ans. Spare tire, a jack, a lug wrench, a small plank of wood to secure the jack, flashlight, gloves, extra clothing, or safety triangles to alert other drivers, etc. are all such materials that will be required while changing the tire.
4. What is a hubcap?
Ans. The hubcap is a decorative piece of metal that can cover the wheel hub and briefly hide the lug nuts. You can easily remove this hubcap with a screwdriver when you change the tire.
5. What will happen if you drive with a flat tire?
Ans. It depends entirely on how far you drive with flat tires. When the rubber of the flat tire rubs against the road, the rubber gets torn off horribly, causing the rim to run straight on the road. If you continue to run aluminum rims, the sparks from the rims might trigger the fire which is really a severe condition. So, don’t try to drive with a flat tire.
At last, there are several other articles that might interest you as the owner of the car. You can browse all the related topics to car from our automobile category.
