How to Solder Wires? 9 Basic to Advance Step By Step Guide
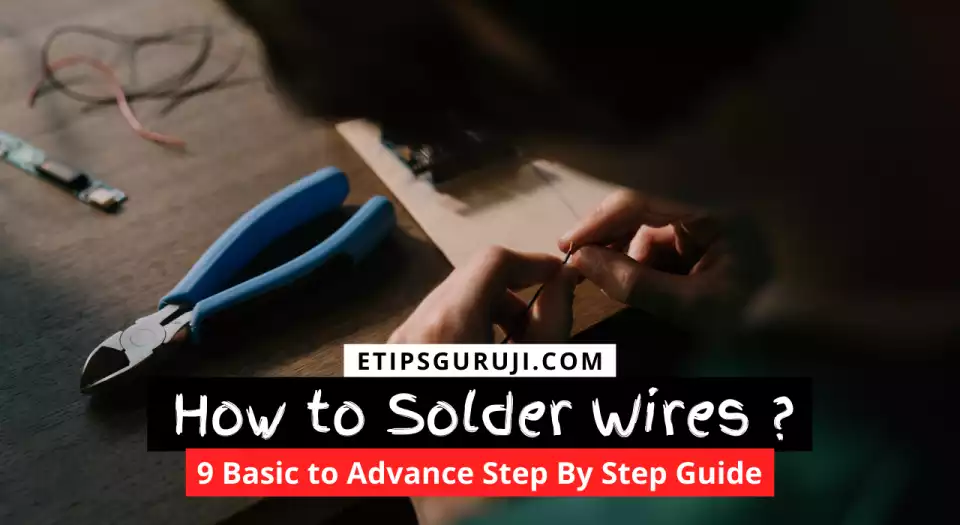
Soldering wires is a firm way to fixed the wires or metals by using some alloy based solder at high temperatures. But, it is a task that needs precision and precautions, especially while soldering small circuits or semiconductor devices.
So, with this post, our very first aim is to guide you in details on how to solder wires or any electrical circuits. We are also going to discuss soldering types, necessary tools, and ways for desoldering along with a general FAQ.
Before jumping straight to our topic of “how to solder wires“, let’s take a short sketch of soldering.
What is Soldering?

Briefly, soldering is a method or process in which two or more metals are joined together with solder or alloy which act as the gluing agent to hold the surfaces on the application of heat. So, you can say that solder is nothing but a low melting alloy usually made from a mixture of tin, lead, and hot iron.
In general, the extent of the solder depends majorly on the two main things, first is, which type of work you will gonna use for, and second is the melting point of the solder that we are going to discuss in the next section of soldering types.
People Also Read:
- Casing and Capping Wiring- 4 Basic Type & Installation Guide
- What is Cable modem- How it Works, Advantages & Disadvantages
Types of Soldering
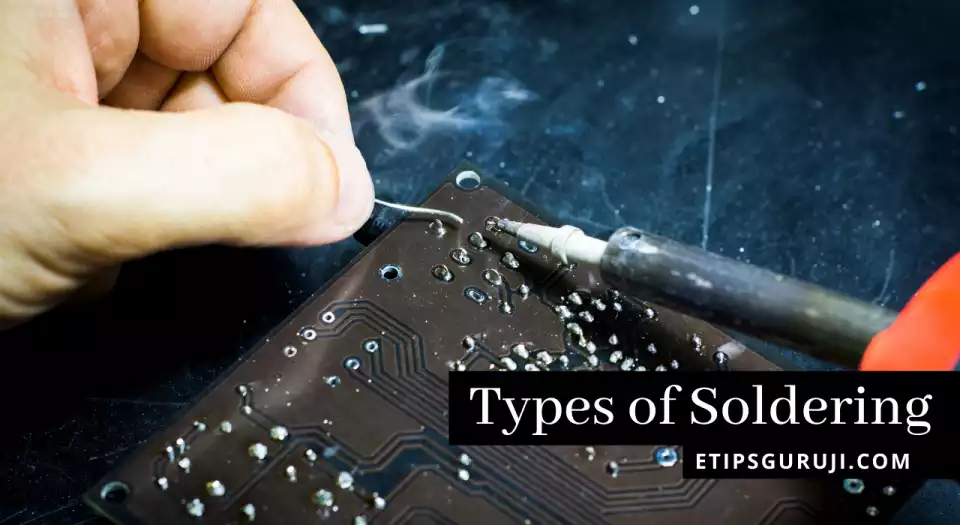
There are basically three types of soldering that you can use to glue the two metal or surfaces. These are listed below:
- Soft Soldering
- Hard Soldering
- Brazing
Type 1: Soft Soldering
Soft soldering is commonest among all types of soldering, and there is a higher chance that your search on how to solder wires would resist to this soldering category.
They are usually used in electronics and plumbing industries to make electrical connections and bonds between electrical components. In addition, it is also used for joining copper pipes and connectors.
All the solder of this category has a melting point less than 400 ° C which is the lowest among all types of soldering. And that the reason why the bond formed by soft solder is not a permanent strong bond. This makes it unfit for mechanical load-bearing applications.
Metals such as copper, lead, brass, steel, and tin can be easy solders, but some metals such as aluminum and cast iron require some special solder.
Type 2: Hard Soldering
This type of soldering typically makes a stronger bonding in comparison with soft soldering. Silver and brass are the only material used in this process which needs a melting temperature around 500 °C that is achieved with the use of a blowtorch.
When you use silver as a soldering material, we can call this type of soldering as silver soldering. But it can cost you more than the brass. So, if you are doing some expensive work then only use silver solder otherwise brass is also a good alternative to it.
However, you can use silver metal for hard soldering when you have to join the pieces of copper, brass, or silver metal itself.
Type 3: Brazing
Brazing is a process of joining metals together by melting and flowing a filler element that means molten filler material is flowing into the gap between the adjacent surfaces of the alloys.
However, brazing requires a higher temperature which is necessary to melt the filler metal. The filler metal generally has a low melting point than the adjacent metal. Moreover, you can call these types of soldering similar to hard soldering because the metal used to make bonds are heated, but not melted.
Once the base metal is heated, now it’s time to place the solder material called the brazing filler metal. When you insert the brazing filler metal between the two surfaces, it immediately melts.
With this, you get all the additional information related to our main topic of how to solder wires. Now, lets quickly wrap some important tools that are required before you start the process of soldering.
Tools Required for Soldering Wires

These are the following tools you should grab before starting the procedure of how to solder wires:
- Soldering Iron
- Wire Cutter
- Soldering Tools For Desoldering
- Tweezers
- USB Microscope
- Wet Sponge
- Soldering Stand
- Safety Glasses
Important Instructions Before Soldering the Wires
These are the following important instructions before going to the procedure of how to solder wires:
- Work in a well-ventilated space so that the fumes from the soldering iron cannot reach your lungs as they are harmful and leads to toxicity.
- Never touch the tip or rod of the soldering iron as it is too hot (temperature 400 ° C) and it definitely can burn your skin.
- After use, put the soldering iron on its place.
- Wash your hands properly after working with the solder.
- Wear safety glass for eye protection whenever you are working with solder.
How to Solder Wires? Step by Step Guide

The following are step by step guidelines on how to solder wires neatly:
Step 1: Prepare a Safe Working Space
If you are working with lead-based solder, make sure the place is well ventilated and free from the flammable surface because the tips of soldering irons can range between 600 and 800 degrees Fahrenheit that can cause serve burn. So, find a secure working place for solder wire.
Step 2: Strip the Wires
Now take the wire and strip out half-inch of the plastic coating of the wire with the jaw. You just only squeeze the handle of the jaw/ wire strippers and pull out the insulated line of wire.
These are a few things that you should consider:
- You can use a knife instead of a wire stripper.
- To avoid any harm to your finger, wear gloves.
- If you strip away too little plastic coating it creates obstruction while soldering. But even you strip away too much plastic coating, that’s also not a good idea as it required too much heat shrink tubing to cover the wire. And it will also consume too much time.
- Use the correct gauge on the wire stripper to avoid any accidentally cutting the strands of wire.
Suppose, if you accidentally break strands of wire, then cut any remaining strands or try to strip it again otherwise, the wire could get short and could cause a fuse to blow.
Step 3: Add the Heat Shrink Tubing
Now add the heat shrink tubing that will fit over the plastic-coated wire. In terms of length, the tubing is larger than the wire so you can easily slide it on.
Cut a piece of tubing at least 2 inches long so it is able to cover the splice. Later, cover the rest of the wires so that it gets fully insulated. Now, slide the heat-shrink tubing at least 30 cm onto the wires which are away from the exposed end.
These are the few things that you should consider while adding a heat shrink tubing:
- Do not use too large heat shrink tube for the wire.
- Don’t keep the heat-shrink tubing close to the soldering area as it might shrink from heat.
Step 4: Twist the Ends of the Wires Together
Join the threads of each wire and twist the ends together in such a way that it gets fixed neatly. For this, crossed the wire towards each other so they form an X-shape.
Now, bend the messed wire and twist it clockwise (or anti-clockwise) and try to fix all the interlocking strands.
Step 5: Position the Wires
Now, clamp the wires in alligator clips. Place the alligator clip on each side of the splice vertically, so the splice is supported off the work surface between them.
You can use a scrap piece of metal or a non-flammable material under the alligator clips to catch any solder spills.
Note: Alligator clips are those metal chips that are used for making some temporary electrical connections and also holds the wire easily.
Step 6: Add the Rosin Flux
Put the rosin flux to the joined wires. For instance, Rosin flux is a compound that helps to facilitate the soldering, which helps to prevent and clean the metal oxidation.
Hence, it increases the process of soldering and allows the solder to stick to the surface firmly. Carefully rub a small amount of the rosin flux paste to the exposed wires so that all of the wire strands get covered.
Note: In case there is excess rosin flux, place a thin layer of flux onto the wire and clean off with a finger or paper towel.
Step 7: Prepare for Soldering
Now it’s time to be ready for soldering the wire. So, plug in the switch and turn the soldering iron over and let it heat up.
So, you have to first heat the soldering iron and clean it thoroughly by removing any oxidation layer. The oxidation is removed by wetting the sponge or by using the brass sponge.
This is crucial because, if you do not remove the oxidized tip, the soldering iron’s ability to hold the solder slowly starts to decrease.
Step 8: Solder the Wires
Hold the soldering iron against the joint of the wire. Therefore, the heat gets transfer from soldering iron into the wires which leads to turning the flux into the liquid form. When the flux starts forming bubbles, you can now start adding solder to the splice.
While doing the soldering, make sure you cover the entire splice with the solder. Continue melting the solder which makes the flux to melt and fills into the gaps between the wires.
This process must be continued until all of the exposed wire gets bounded by a thin layer of solder.
These are the few things that you should consider while and after soldering:
- Once finished, let the solder cool for about 1-2 minutes so that it will solidify.
- Do not touch or disturb the wire until it dries away otherwise, the connection between the wires may be get broken.
Step 9: Shrink the Tubing and Seal the Connection
Here, we come on the last step of how to solder wires. But before going to seal the connection, you can rub silicone paste or dielectric grease on the soldered wire to prevent rusting and make it waterproof.
After you are done with soldering, its time to use the heat shrink tubing. Slide the heat-shrink tubing over the exposed wires. While sliding down, make sure it covers all the solder area. Then you can use a heat gun to shrink the tubing that makes excess silicone paste oozes out over the soldered wires.
Once the tubing part gets completed, make the cojoined wire to cool down at room temperature. You can also use a paper towel to remove any excess silicone paste with a paper towel. And finally, you know all the step by step procedure on how to solder wires.
Note: Keep a heat gun away from the tubing, around 4–5 inches.
How to Perform Desoldering?

The biggest advantage of soldering is that it can easily remove it through a simple technique which is known as desoldering.
It is commonly used in electronics for removal of solder and components from a circuit board for troubleshooting, salvage, and repair.
There are two ways of desoldering a wire or surfaces:
- With a Desoldering Pump
- With Solder Remover Braid
With a Desoldering Pump
It is also known as ‘solder sucker’ which is made to separate soldered components. Set the pump by pushing down the plunger charged to the spring until it locks. Apply the pump nozzle to the joint as well as the tip of your soldering iron. Just wait for some seconds to melt it easily.
After that, press the pump button to release the plunger and suck the molten solder. Repeat the process for removing as much solder as possible, if necessary. Occasionally, you have to empty the pump by de-screwing the nozzle.
With Solder Remover Braid
Desoldering braid is a copper braid that is used to remove solder mold. For this, you should apply the tip of the soldering iron to the wick (joint).
As the solder melts, the flux gets malleable and flows out onto the braid, away from the joint. Then remove the braid and discard the end of the braid coated with solder.
People Also Read:
- Step-Up Transformer: Principle, Application, Advantages & More
- Switch Mode Power Supply (SMPS) – Function, Types, Merits…
Here our post on “How to solder wires” ends. And in our next section, we are discussing some frequently asked questions that many users search on Google.
General FAQ
What does flux solder do?
Ans. In short, flux removes the surface of oxidation, grit, and grime from metal surfaces. Moreover, it cleans a metal surface before soldering and improving the quality of intermetallic bonds.
What materials are necessary for soldering wires?
Ans. Solder, soldering iron, solder removal, wire stripper, sponge, soldering stand, heat-shrink tubing, alligator clips, rosin flux, and safety glasses are some necessary tools you will need for soldering wires.
How can I treat myself after getting injured from soldering?
Ans. You can easily treat your minor injury by doing this simple treatment. Immediately, keep the burn into the cold water for at least 5-15 minutes or use ice, and do not apply any creams or ointments. And if you have a large burn area, seek medical attention immediately.
Which is stronger soldering or brazing?
Ans. Brazing is stronger than soldering because the temperature at which the filler melts is above 430 °C. Moreover, in brazing alloys of zinc, copper, and silver are used as filler material which has higher material strength.
Write down some applications of soldering?
Ans. Soldering is majorly used in electronic industries to connect wires to chipsets. Because the strength of the joint is low in soldering. In short, its major application is the fabrication of electrical and electronic circuits.
That’s all with our post titled “How to solder wires?“. If you are interested in more posts related to electronics then feel free to check our electronic category.