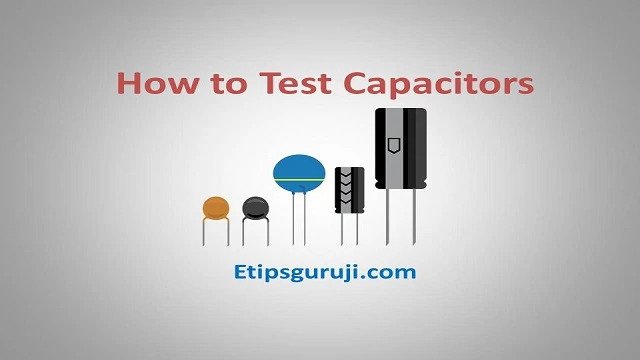
How to Test Capacitors – Its Methods, Functions and Types
The capacitor gives energy to electronic devices with dielectric material. In this blog, we will study how to test capacitors, its functions, and types.
What is a Capacitor?
A Capacitor is an electric device storing electric energy in the fields. The answer of your question, how to test capacitors will have different methods, functions and types of it. So, firstly let’s understand the term “capacitors”.
It is the passive component having two terminals showing the effect as capacitance. The capacitor is inbuilt with two insulating plates. They do not have direct attachment but have insulating factors to create conductive impact.
To ensure the functionality of the Capacitor specific dielectric material is used. Such as Mylar, Teflon, Cellulose, Ceramic, Mica, etc. The Capacitor is mainly applying in almost every small to the big device from the calculator to supercomputers.
Functions of a Capacitor
The capacitor plays a significant role in storing electrical energy and supplies it to the circuit from time to time, whenever the need arises. The functions of the capacitor are following:
- The capacitor blocks the flow of direct current and then allows the flow of alternative flow.
- It helps to couple the two sections.
- The capacitor controls and grounds the unwanted frequencies of electricity.
- IT helps in shifting phases of current.
- capacitors also help in doing filtrations. Mostly, it removes ripples from the rectified waveform of electric current.
- Moreover, it keeps the frequency in optimum tune.
- It also helps to start the motor of any electronic device.
Types of Capacitors
To know how to test capacitors, you must know its types. So, there are merely two types of capacitors depending upon the dielectric material used in it. A dielectric material is the insulating composition factors of the capacitor that functions two conductive plates.
The good dielectric material does not lose the energy of an electric device. On the contrarily, the one which lost the energy is known as the bad dielectric material.
Simple Capacitor

Simple Capacitors have dielectric material in the form of polyester, air, paper, mica, ceramic, plastic stone-flux. So, the name of the capacitor depends upon the type of dielectric material used as mention here. For example, the capacitor using mica as the material is known as the Mica capacitor, the capacitor with polyester is known as Polyester Capacitor and so on.
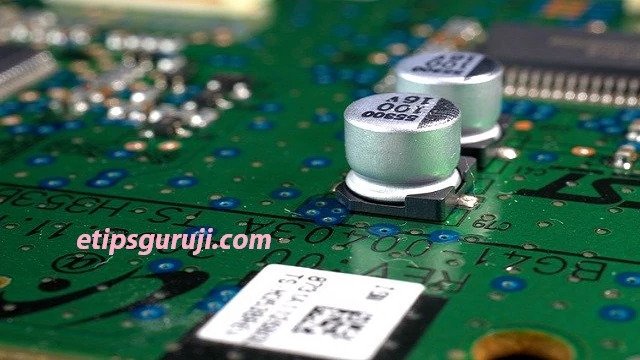
Electrolytic Capacitor
On the other hand, electrolytic Capacitor is a polarized one. It reduces fluctuations of voltage by smoothing the input and output in filtering devices. Due to the Polarization of the capacitor, to reverse the terminal polarities will be so damaging for the capacitor. To protect the damage, it is advisable to not to generate pure AC to the capacitor.
How to Test Capacitors?
Testing is the most significant step in any electronic device manufacturing or any operation. The testing provides information about various conditions like good or bad. So, depending upon the testing result we decide whether to use it, repair it, or discard it.
There are six methods to test the condition of a capacitor. Whether, its god, open, short, bad, or dead, the testing procedure will give the actual information for all.
How to Test Capacitors with the Traditional Method?
To test the capacitor with the traditional method, you need to follow some steps mentioned below:
- Firstly, disconnect the power supply of the capacitor that you want to check. To ensure the disconnection, see at least one lead of the capacitor is not connected.
- Another significant factor is to ensure that the capacitor is properly discharged.
- Now, you can connect two separate leads to the terminal of your capacitor.
- Moving further, connect these leads of the capacitors to supply of 230 Volume AC for just 1-4 seconds.
- Now, remove safety leads from this 230 V current supply.
- It’s time to shot the terminals of the capacitor. This step requires more precautions because of electricity spark, so must ensure to wear safety goggles.
- Therefore, it is the result of time. If the spark is strong, it means the capacitor is good.
- On the other hand, the low spark shows a bad capacitor.
Note: To use this method to test a capacitor is only for professionals. Or who understands the proper functioning of electricity and currents unless; this method is dangerous for your health.
How to Test Tapacitors with Analog Multimeter?
You can test a capacitor with AVO which is an abbreviation of Ampere, Voltage, Ohm Meter. So, to conduct the test by Analog has the following steps:
- Firstly, you need to ensure that the capacitor is fully discharged, as specified in the first method.
- Now, take AVO or Analog meter.
- Here is the time to connect meter leads to the terminals.
Now, note down the readings showing on the meter and compare with the results mentioned below:
- Good Capacitor: If your capacitor initially shows low resistance and then increases gradually towards boundless bars of infinity. It means your capacitor is in very good condition.
- Short Capacitor: This type of capacitor will show very little resistance in the meter.
- Open Capacitor: whereas, the open capacitors will not show any change in the form of deflection or movement on the analog meter.
Related Articles
- LCD (Liquid Crystal Display) – How it Works, Types, Advantages
- Calculator- it’s Definition, Types, Advantages & Disadvantages
How to Test Capacitors with Digital Multimeter?
To test a capacitor by Digital Multimeter following are the simple steps:
- Firstly, the significant thing is to discharge the capacitor as in every method.
- Now, set your digital meter on Ohm range with at least 1k mark.
- It’s time to connect the leads to the terminal of your capacitor.
- After connection, the meter will show some numbers as reading. Note it down.
- The reading numbers will automatically return to zero lines immediately. To analyze the readings, consider the following points.
- If the readings are the same every time you set the Ohm range as 1 k, then your capacitor is in good condition.
- If the noted range varies every time, then your capacitor is dead.
Note: Keep an eye on reading, it will disappear immediately.
How to test capacitors with Multimeter, when it is in Capacitance Mode?
The steps to test a capacitor with Multimeter are following especially when the Multimeter is in Capacitance mode:
- As you know to make sure your capacitor is properly discharged.
- Now, remove the capacitors form circuits or electricity boards.
- Here, you need to select the “Capacitance” mode on your Multimeter device.
- Now, add or connect terminals of the capacitor in the leads of multimedia.
- To interpret the readings and know the quality, consider the following points.
- If the test readings in actually the same or nearby the value printed on the capacitor box. Then, it is in good condition.
- On the other hand, lower reading is the indication of a dead capacitor. So, you have to change it.
Note: This test is only possible if your multimedia device supports Capacitance mode. This method of test is very beneficial in tiny capacitors as well.
How to Test Capacitors with a Simple Voltmeter?
- In this method, you need to disconnect only the single lead whether it’s positive or negative. Or you may disconnect all the leads if needed.
- Now, check the capacitor voltage from the printed description on the device or its packaging box. For example, voltage = 20V.
- Now, charge the capacitor for few seconds mainly below 16V.
- And connect the positive lead of the voltage source device with the positive lead of the capacitor. On the other hand, connect negatively with the negative.
- Now, allow DC to flow after connecting all the leads of voltage source and capacitors.
- Note the readings showing in the Voltmeter. If the readings are the same as you supplied in the charging mode as 16V, then the capacitor is in good condition. Contrarily, if the reading is very low, then the capacitor is dead.
How to test Capacitors with Measuring the Value of Time Constraint?
The last but not the least method to test the capacitor is to measure the time constant. In this, the value of the capacitor from its reading is comparable to the microfarad as printed on the device.

The same value shows that the capacitor is neither blown out nor burnt. In other words, the time taken by the capacitor to charge is noted. If the 63.2% of the applied voltage is known by the resistor, then it is known as Time constant of Capacitor. To calculate time constant formula is below:
T= R*C
Where R means known Resistor
C means Value of Capacitance.
T= TC/ Time constant.
After calculating the range, you need to interpret it as below:
If the calculated value of the capacitance and value of the capacitor printed on its description is the same, then it is in good condition. On the other hand, variance in the values shows the non-functioning of the capacitor.
Some FAQs
How the capacitor is made?
The capacitor is consisting of two conductive plates. These metal plates are in parallel positions. That is not touching or connecting each other. But, it operates with any good insulating material like ceramic, mica, waxed paper, or air.
How to know a capacitor is good or bad?
You need to follow at least one method mentioned above. And follow the steps to compare actual readings and the standard readings of the capacitor. The comparison will get you to know, whether it is in a workable condition or not.
What is the positive and negative side of the capacitor?
When the capacitor is in a polarized form, it is marked in positive or negative ends. The positive end shows a higher voltage in the capacitor. Whereas, negative charge flows through the positive end.